
Contents
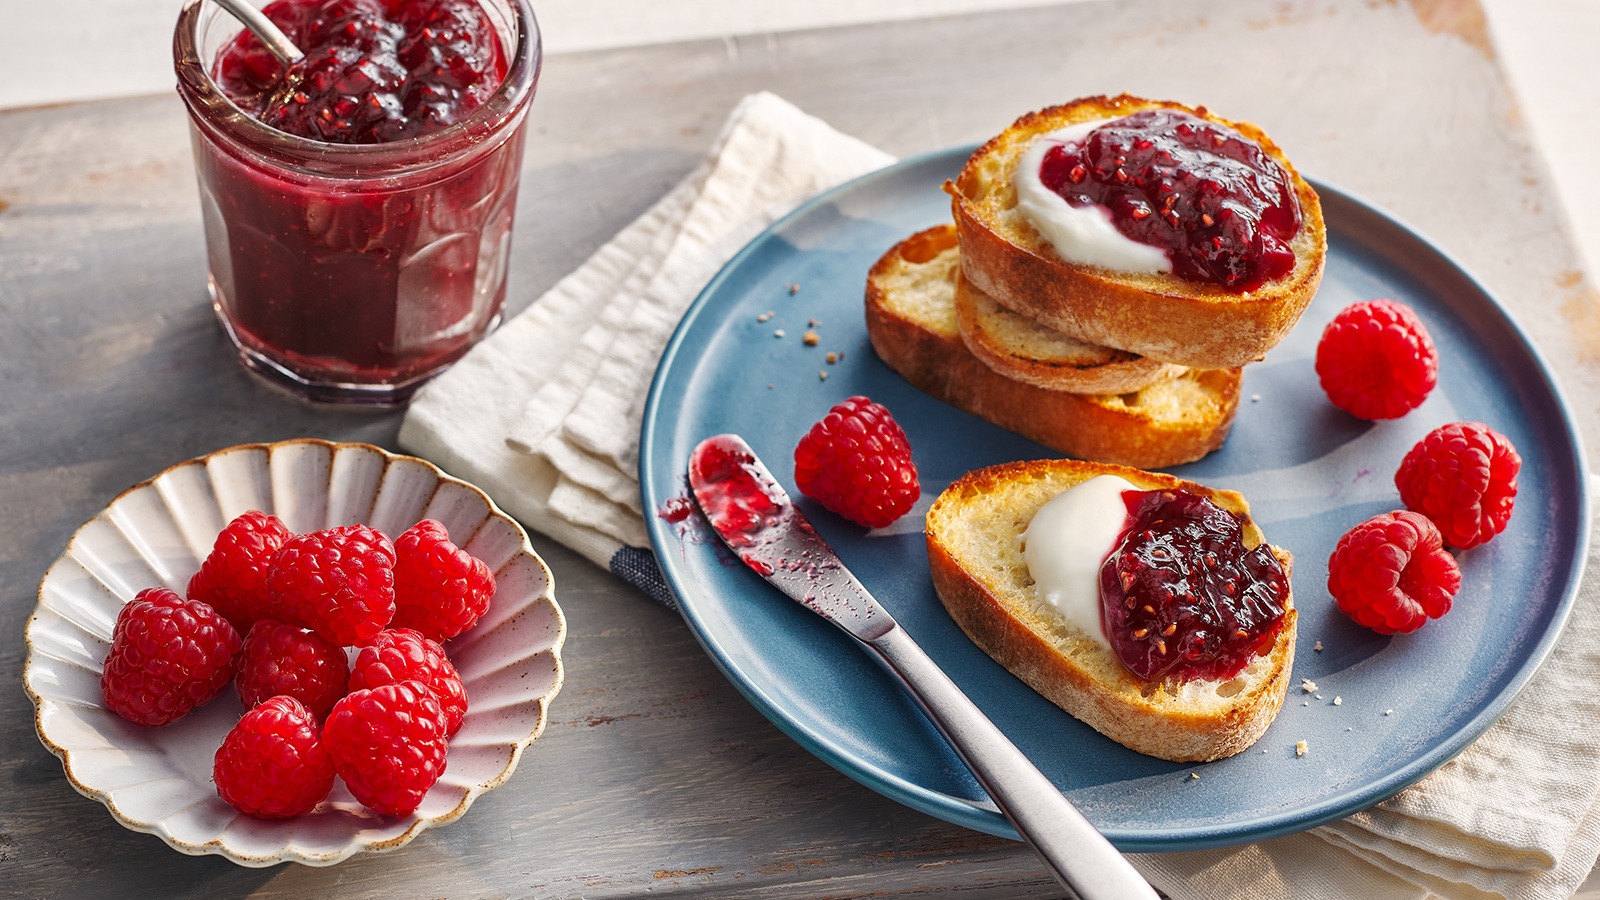
There’s something truly magical about the taste of homemade raspberry jam. The sweet, tangy flavor of ripe raspberries captured in a jar brings a burst of summer to any dish, from morning toast to decadent desserts. Making raspberry jam at home is not only a rewarding culinary experience but also a wonderful way to savor the essence of fresh raspberries all year round. In this article, we’ll delve into the joy of raspberry jam, exploring its benefits, uses, and providing a detailed recipe to help you create your own batch of this delightful spread.
The Delight of Raspberry Jam
1. Bursting with Flavor:
Raspberry jam is celebrated for its intense, natural flavor. The combination of sweet and tangy notes makes it a versatile condiment that can elevate a variety of dishes. Whether you’re spreading it on toast, adding it to yogurt, or using it as a filling for pastries, raspberry jam brings a delightful taste that’s hard to resist.
2. Nutrient-Rich Goodness:
Raspberries are packed with vitamins, antioxidants, and fiber, making raspberry jam not only delicious but also nutritious. While the cooking process does reduce some of the vitamin content, many of the beneficial compounds remain intact, providing a tasty way to incorporate some nutrients into your diet.
3. Homemade Versatility:
Making raspberry jam at home allows you to control the ingredients and customize the flavor to your liking. You can adjust the sweetness, add complementary spices like vanilla or cinnamon, and even experiment with sugar substitutes for a healthier option. Homemade raspberry jam ensures a fresher, more natural product compared to many store-bought versions.
The Benefits of Homemade Raspberry Jam
1. Pure Ingredients:
Homemade raspberry jam is made with simple, pure ingredients—usually just raspberries, sugar, and lemon juice. This means no artificial preservatives, colorings, or flavors, giving you a cleaner and healthier product.
2. Cost-Effective:
Making your own jam can be more cost-effective than buying premium store-bought varieties. Plus, if you have access to fresh raspberries, either from your garden or a local market, you can make a large batch of jam for a fraction of the cost.
3. Creative Gift Idea:
Homemade raspberry jam makes for a thoughtful and creative gift. Whether it’s for holidays, birthdays, or just because, a beautifully jarred and labeled raspberry jam is a charming and personal present that shows you care.
Uses for Raspberry Jam
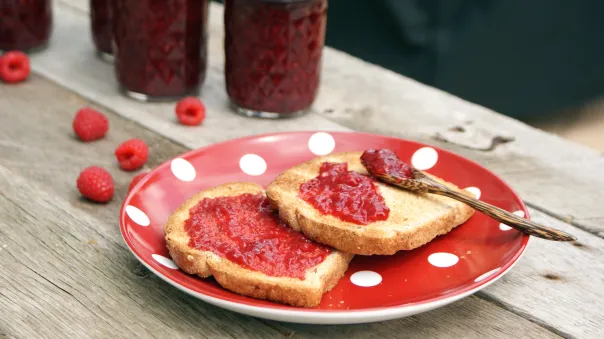
1. Breakfast Boost:
Start your day with a burst of flavor by spreading raspberry jam on toast, bagels, or pancakes. It pairs wonderfully with cream cheese, butter, or peanut butter for a satisfying and delicious breakfast.
2. Baking Essential:
Raspberry jam is a versatile ingredient in baking. Use it as a filling for cakes, pastries, and cookies, or swirl it into muffin and cupcake batters for a fruity twist. It also makes an excellent glaze for tarts and cheesecakes.
3. Savory Pairings:
While raspberry jam is often associated with sweet dishes, it also complements savory foods beautifully. Pair it with cheese, particularly soft varieties like brie or goat cheese, for an exquisite appetizer. It can also be used as a glaze for meats like pork or chicken, adding a sweet and tangy dimension to your dishes.
4. Desserts and Treats:
Raspberry jam can be a star ingredient in many desserts. Drizzle it over ice cream, use it as a filling for crepes, or layer it in parfaits and trifles. The possibilities are endless, and the results are always delicious.
Making Your Own Raspberry Jam
Ready to experience the joy of homemade raspberry jam? Follow this step-by-step recipe to create your own batch of sweet, tangy goodness.
Ingredients:
- 4 cups fresh or frozen raspberries
- 4 cups granulated sugar
- 1/4 cup lemon juice
Instructions:
- Prepare the Raspberries:
- If using fresh raspberries, rinse them gently under cold water and drain well. If using frozen raspberries, allow them to thaw and drain any excess liquid.
- Cook the Raspberries:
- In a large saucepan, combine the raspberries and lemon juice. Cook over medium heat, stirring occasionally, until the raspberries break down and release their juices.
- Add the Sugar:
- Gradually add the sugar to the raspberry mixture, stirring constantly. Continue to cook over medium heat, stirring frequently, until the sugar is completely dissolved.
- Boil the Mixture:
- Increase the heat to high and bring the mixture to a rolling boil. Boil for about 10-15 minutes, stirring frequently, until the jam thickens. You can test the consistency by placing a small spoonful of jam on a chilled plate. If it sets and wrinkles when pushed with your finger, it’s ready.
- Skim the Foam:
- As the jam boils, foam may form on the surface. Skim off the foam with a spoon to ensure a clear, smooth jam.
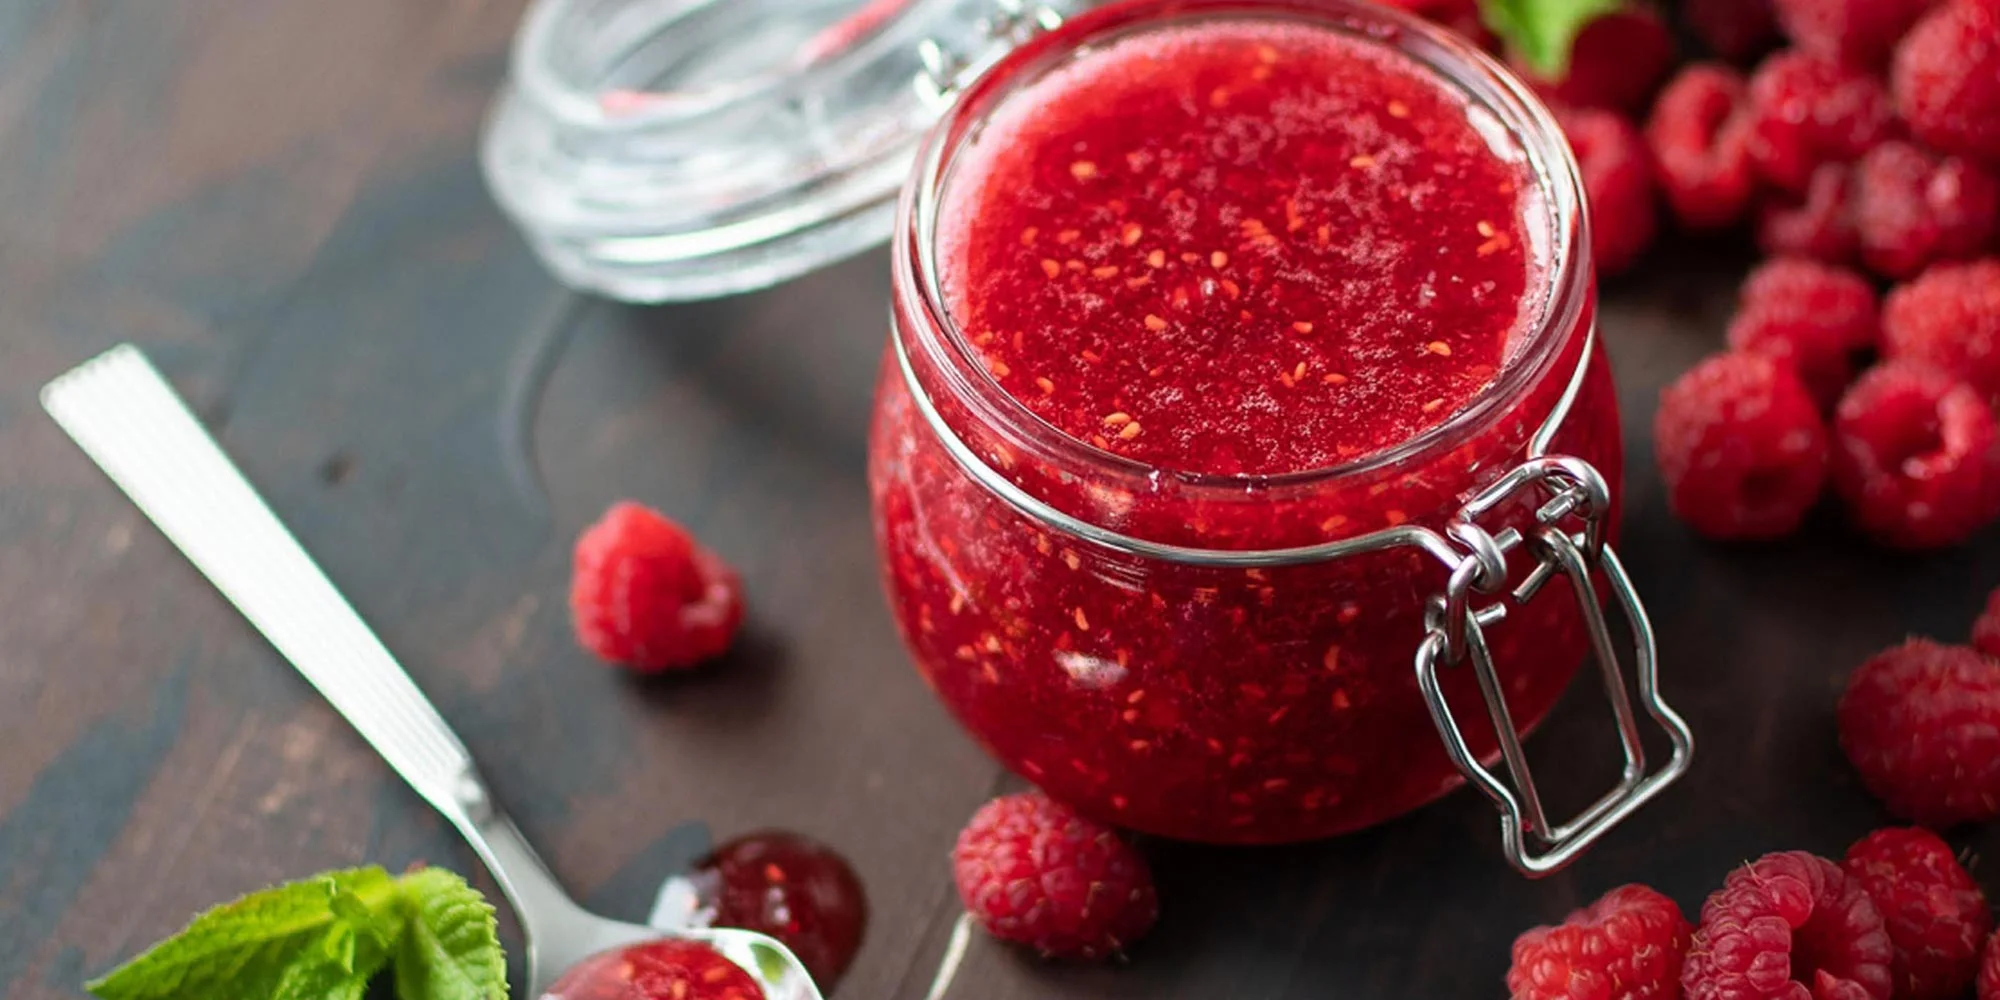
- Jar the Jam:
- Carefully ladle the hot jam into sterilized jars, leaving about 1/4 inch of headspace. Wipe the rims of the jars with a clean, damp cloth and seal with sterilized lids and bands.
- Process the Jars:
- Process the jars in a boiling water bath for 10 minutes to ensure they are properly sealed. Remove the jars from the water bath and let them cool completely at room temperature.
- Check the Seals:
- After the jars have cooled, check the seals by pressing the center of each lid. If the lid doesn’t pop back, the jar is sealed. Store the sealed jars in a cool, dark place for up to a year. Once opened, refrigerate and use within a few weeks.
Tips for the Perfect Raspberry Jam
1. Choose Ripe, Fresh Raspberries: The quality of your raspberries will significantly impact the flavor of your jam. Choose ripe, fresh raspberries for the best results. If using frozen raspberries, ensure they are of good quality and have no added sugar.
2. Balance the Sweetness: The amount of sugar in jam recipes can be adjusted to suit your taste. However, keep in mind that sugar acts as a preservative and helps achieve the right consistency. Reducing the sugar too much can affect the shelf life and texture of the jam.
3. Use Lemon Juice: Lemon juice not only adds a touch of acidity to balance the sweetness but also helps set the jam by providing natural pectin. It’s an essential ingredient for achieving the right consistency.
4. Monitor the Boil: Achieving the perfect consistency for jam requires careful monitoring during the boiling process. Boil the mixture until it thickens, but be cautious not to overcook, as this can result in a jam that’s too thick and sticky.
5. Sterilize Jars Properly: Properly sterilizing your jars and lids is crucial to prevent contamination and ensure the longevity of your homemade jam. Boil the jars and lids in water for at least 10 minutes, then keep them hot until ready to fill.
Embrace the Joy of Raspberry Jam
Making raspberry jam at home is a delightful and rewarding experience that allows mancingduit you to savor the sweet, tangy bliss of this classic spread. Whether you’re spreading it on your morning toast, using it in your favorite recipes, or giving it as a gift, raspberry jam brings a touch of homemade goodness to every occasion.
By following this recipe and the tips provided, you can create your own batch of delicious raspberry jam that captures the essence of fresh raspberries. So gather your ingredients, roll up your sleeves, and get ready to enjoy the joy of raspberry jam in every delightful spoonful.


